Toe-Up Sock Knit-Along Beginning.
(go here for introductory posts and comments before starting)
Using Judy’s Magic Cast-On…
Cast-on for your toe-up socks.
How many stitches should I cast-on, you may ask?
You will discover throughout this KAL that I rarely ever offer specific numbers in my patterns. I dislike formulas. I prefer to knit as I go making determinations based on how the piece is fitting.
So the number of stitches you cast-on will need to be determined by you as you consider for whom you are making the socks and what will fit those feet best.
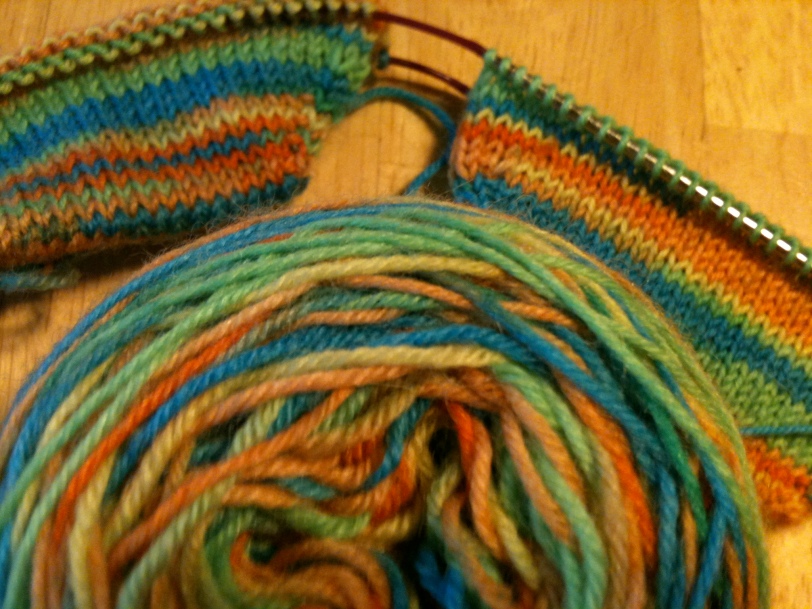
For the above photographed socks, I cast on 20 stitches per needle. This is because I am using teeny-tiny sock yarn and teeny-tiny sock needles.
Typically if I use size 5 needles and worsted weight yarn I cast on 12 stitches per needle.
But even this depends on the foot. My KAL socks are being knit for Chris, my husband. He has long narrow feet. I normally start with a very narrow toe accordingly. My own feet are not as long and much wider than his…so even with the same needles and same yarn, I’d start out with more stitches in the cast-on. My socks fit best if I start with a more boxy toe — and his fit better with a more pointy one.
If you are knitting these toe-up socks one at a time, then just cast-on for the one sock and Knit one round.
If you are knitting 2@AT socks, then cast-on each sock, on the same set of needles — but each sock from a separate skein/ball/cake of yarn. Then Knit one round on each sock. AKA – Knit a SET.
Nomenclature alert: I call it a round when I’m knitting one item in the round. When I am doing 2@AT I call it a ‘set.’
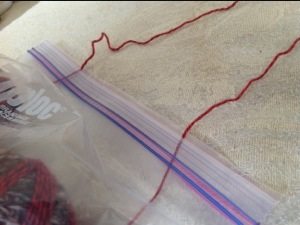
Until recently my strategy for keeping the 2 cakes/balls of yarn from tangling was to place one on my right and the other on my left. Recently, however, I’ve found that it is even easier to place both in a zipper bag. For this to work I need a zipper — not a bag that is ‘easy zip’ with a plastic slider. (See last photo in this post for an example — sorry WordPress doesn’t seem to allow me to embed the photo within the text as an edit.)
Closing the zipper in the middle keeps the strands from tangling. Brilliant!
Increases
Round 1 (increase): *K2, M1 (I use knit front and back), K to the last 3 stitches on the needle, M1, K2*
repeat that sequence on each of the needles — that means you are increasing by 2 stitches per needle — 4 stitches per sock on each increase round.
Round 2: Knit
Alternate R1 & R2 until the ‘toe hat’ is the width you wish.
How many increase rounds might this take for other socks?
It depends…as usual.
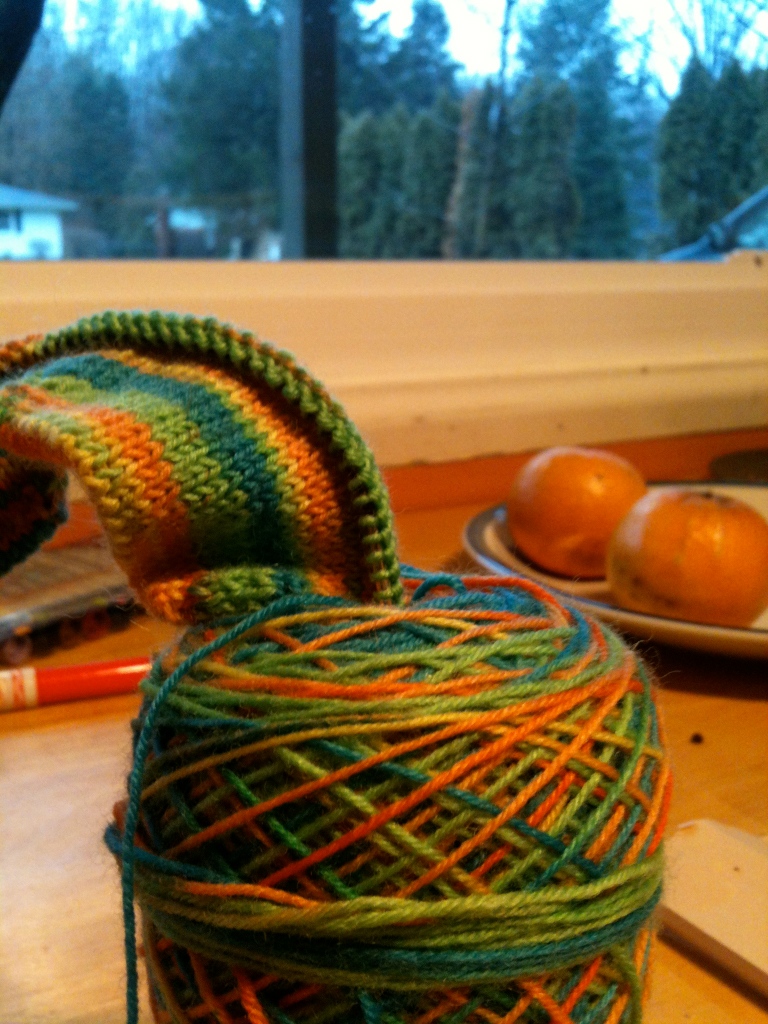
I have found it useful to continue with the increases until the ‘toe hat’ comfortable covers from the outside of the big toe to just before the baby toe. If I go further than that, then the resultant sock can be too baggy.
Knitting the Foot
Once you’ve done all the increases at the toe, you just Knit all rounds/sets until the sock reaches the instep of the foot.
This is a great time to work on your handling of the strands coming from the two cakes. It is easy knitting. It is not complicated or complex — but if you are making adult socks with teeny-tiny sock yarn/needles…it can take a while…a long while.
Next post — gusset construction


I cast on just fine and am doing the toe increases. I can see why this makes you feel like a flippin’ genius. Should I master this approach to socks, I don’t see why I’d go back. 🙂 Yay for KALs!
Right?!
I just can’t do one at a time anymore.
The best part is not having to take notes to make a matching pair. 🙂
That was exactly what I was just thinking. I usually take notes on cast on or what not… I feel devilish.. muahhahaa.
I just love your tutorial. Funny, witty and pure genius you are. I’ve tried this method before, but have had so much trouble in making sure that I’m counting exactly. Such tiny yarn and needles, not counting and just trying on as you go is the worth all the work of the tiny bits and pieces. I’ll keep watching. Thanks again, Robbie
Thanks! 🙂
I have also gotten both yarns to stay separate by putting them in a ziplock bag & cutting the corners off the bottom 2 ends & pulling the yarn through the opening I’ve just created. Works great.